Note: This is a translation of my Chinese post, powered by ChatGPT. The original post can be found here.
TL;DR
Refer to the discussion and branches here to run FireSim locally on FPGA.
Preface
FireSim, as a cycle-accurate hardware simulation platform that has emerged in recent years, carries open-source hardware designs and a large number of top conference papers. However, FireSim’s default development platform is based on AWS F1 instance, and the price of F1 is unbearable. F1 is actually a virtual machine equipped with a Xilinx vu9p FPGA. So theoretically, as long as you have a similar FPGA on hand, you can run FireSim locally.
FireSim has also started to support the U250 board through Vitis in the project, but I have neither F1 instance nor U250, what should I do? (I can’t afford it…)
The FireSim community recently provided some clues in this thread. The thread mentions an important development work: NTNU has completed the FireSim port on U250 without relying on Vitis.
Links are as follows:
FireSim: https://github.com/EECS-NTNU/firesim/tree/u250
Corresponding version of Chipyard: EECS-NTNU/chipyard: Pre-release starter template for custom Chisel projects
Following the wiki, FireSim can be deployed on the local U250. (Some steps in the wiki may have issues and need to be modified according to the error messages)
So it becomes contradictory, if I don’t have a U250, how do I use this project? If I have a U250, why would I use this project? It’s simple, understand the principles and then port it to our own FPGAs!
Architecture Analysis
1. FireSim is an illusion
FireSim tutorial provides a lot of “concise” commands, which seem to be able to deploy FireSim to F1 by just typing commands. But we don’t have F1, what should we do?
FireSim actually packages configuration and compilation options in Python code and yaml configuration, and the final parsed command also uses Makefile.
So we can completely bypass the FireSim command itself, and directly check the source code to know how to compile. The wiki introduction also mentions some common commands and parameters.
2. Harware Architecture Analysis
Since it can be ported to the U250 platform, it means that we can port it to our own platform.
We directly analyze the U250 porting process and simply diff the U250 porting in version 1.15.1. We can find that the modified part is actually very small and can be analyzed one by one.
(1) A bunch of configuration files, skip;
(2) Python files, skip;
(3) Hardware platform related codes:
- platforms/u250/cl_firesim/scripts/main.tcl
The overall entry point of the FPGA project, during the compilation process, main.tcl will be sourced in Vivado.

In it, we can see the addition of various project files, adding constraints, creating block designs, and starting synthesis and implementation.
- platforms/u250/cl_firesim/scripts/create_bd_2021.1.tcl
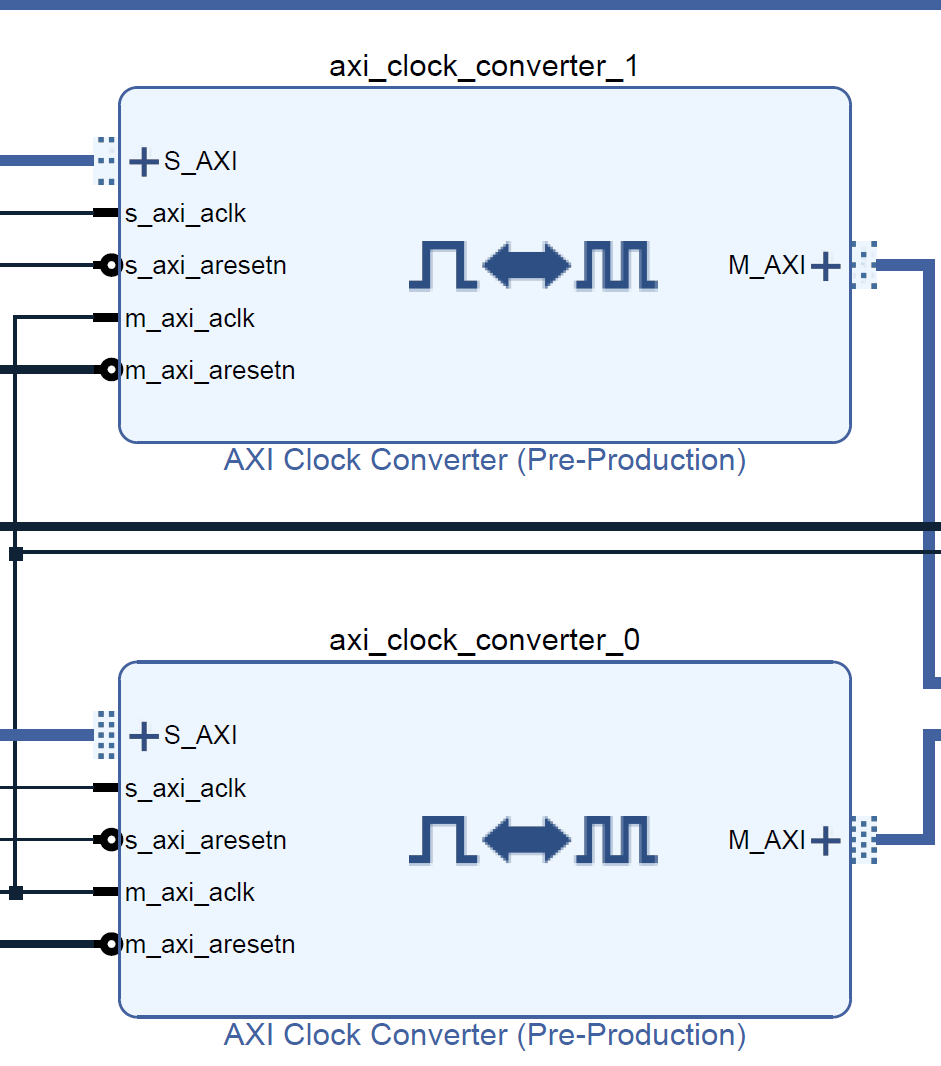
The script most related to hardware, the style seems to come from the auto-generation by Vivado. After running, you can see the entire hardware architecture of FireSim on the FPGA:
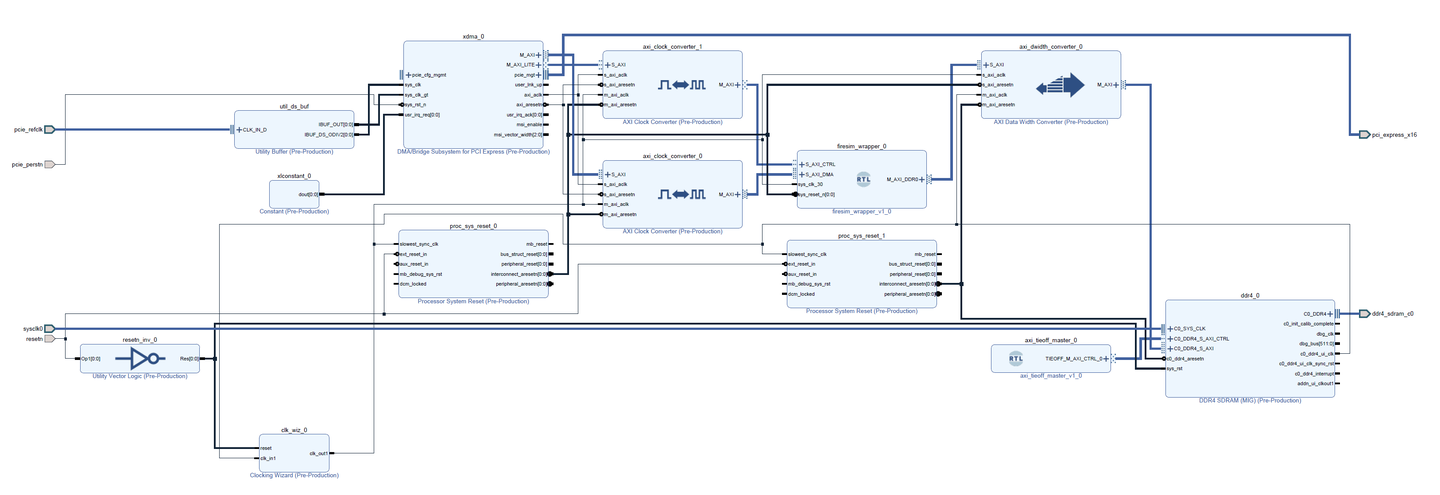
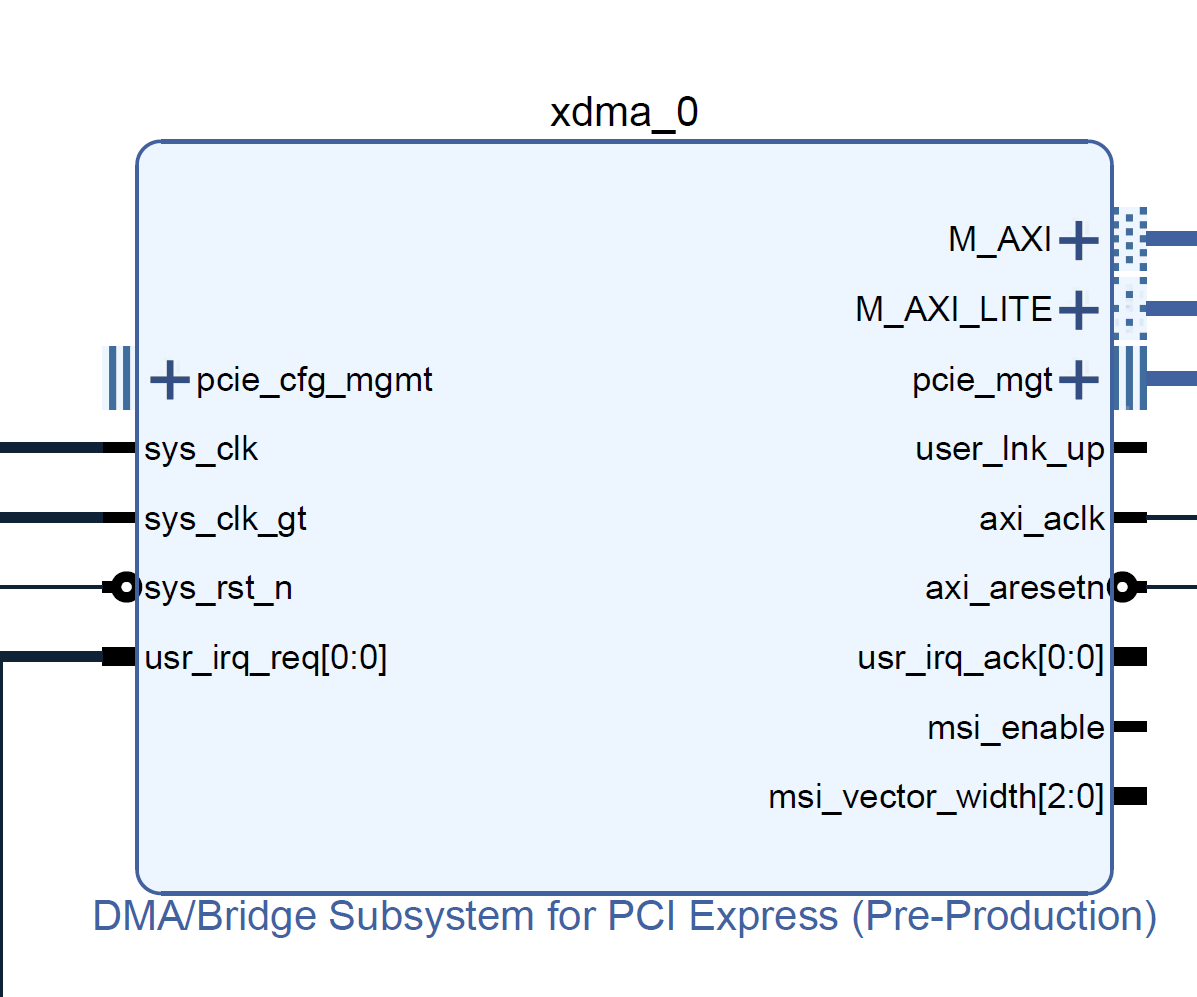
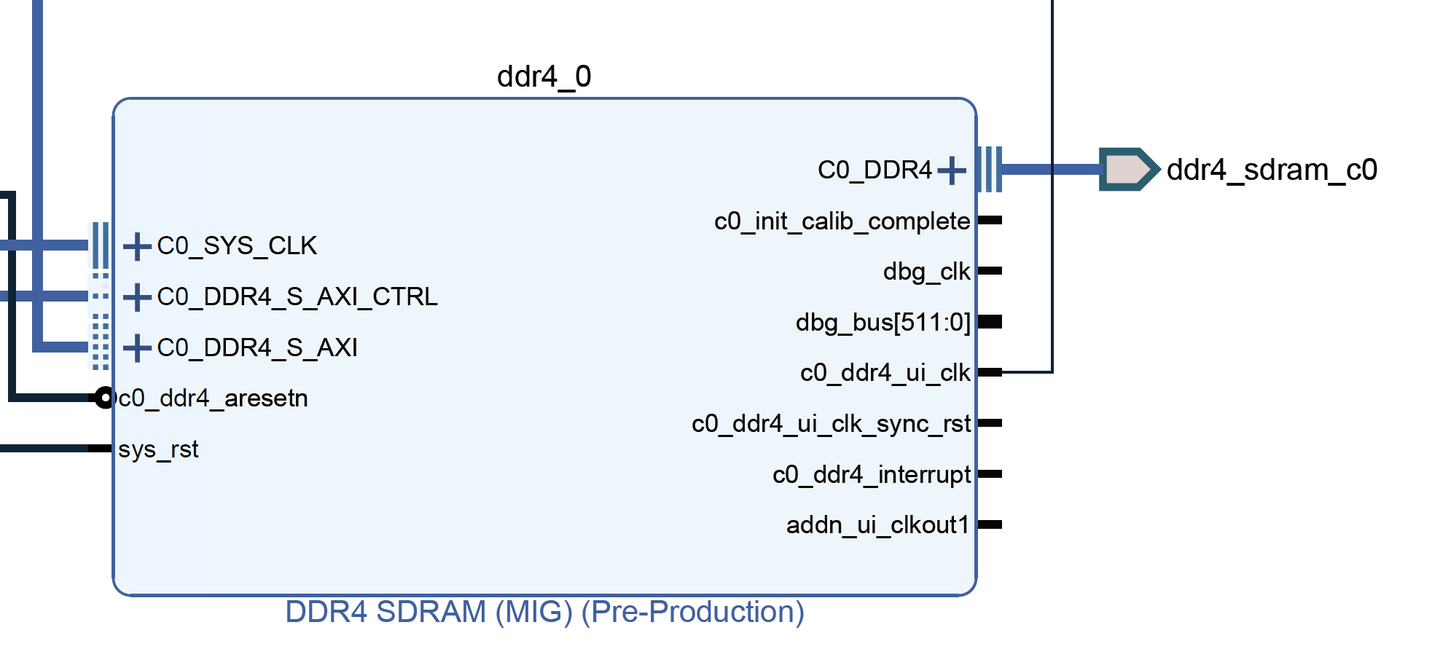
- The core part is the FireSim wrapper: all the generated FireSim code is wrapped inside. The FireSim wrapper inputs the AXI DMA signals and control signals (from PCIe XDMA), and outputs a DDR4 AXI externally.

- XDMA: Default configuration
- DDR4: Default configuration, if interested, you can try to connect more channels.
- Clock network: PCIe clk outputs to PCIe; DDR4 input clock comes from the board, output clock drives other peripherals; most importantly, it provides a clock to FireSim, which determines the execution frequency of FireSim.
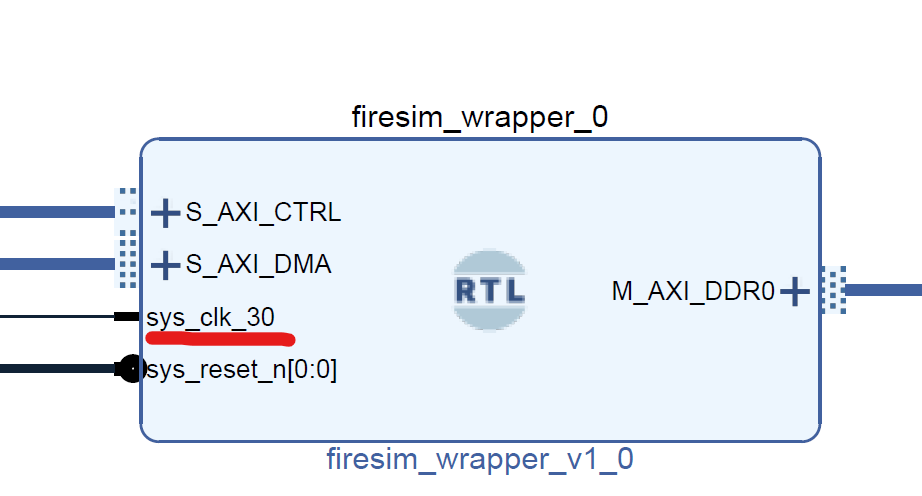
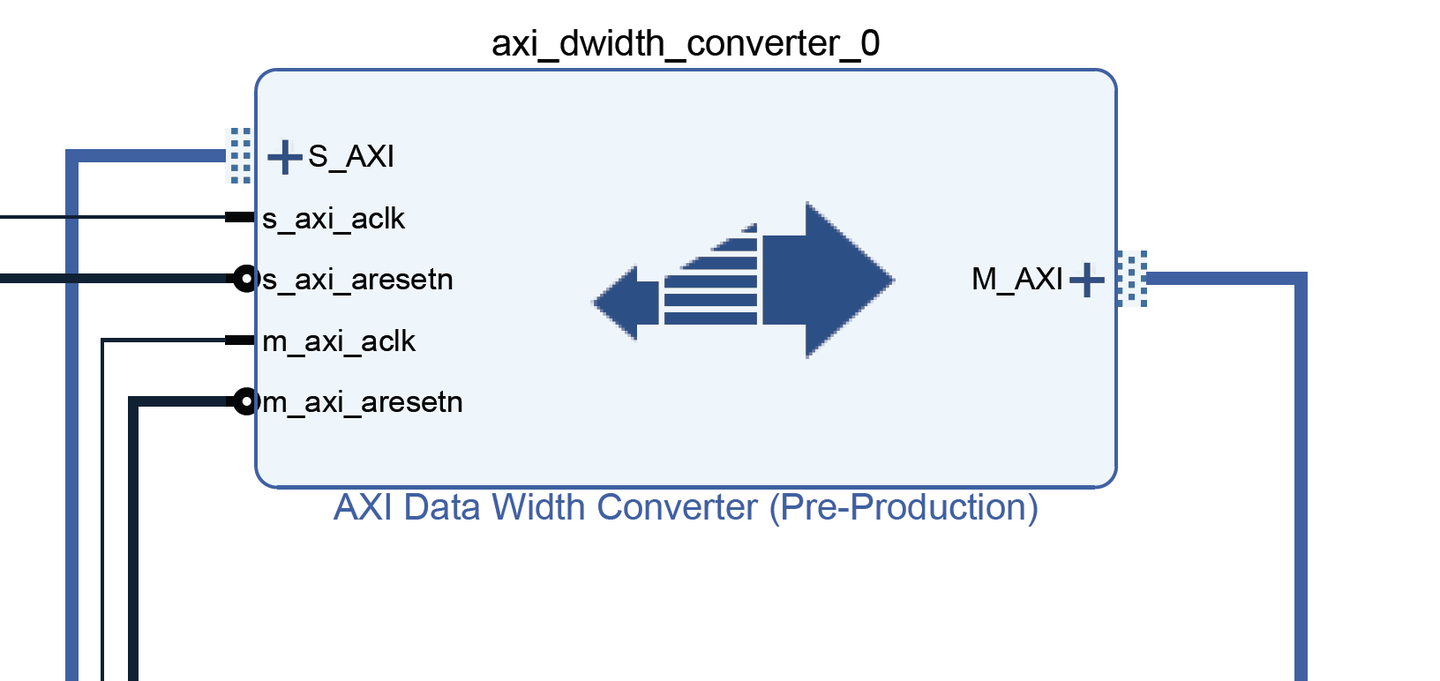
- AXI-related modules: Because the FireSim wrapper and PCIe are asynchronous, an AXI clock converter is needed here, and the output AXI DDR0 needs to be expanded to the bit width required by DDR4.
-
platforms/u250/cl_firesim/design/firesim_wrapper.v, firesim_wrapper connects the generated code to the external block design. If you want to support multiple DDR4 channels, you can modify it here.
-
platforms/u250/cl_firesim/scripts/implementation.tcl, platforms/u250/cl_firesim/scripts/synthesis.tcl Vivado-related scripts
-
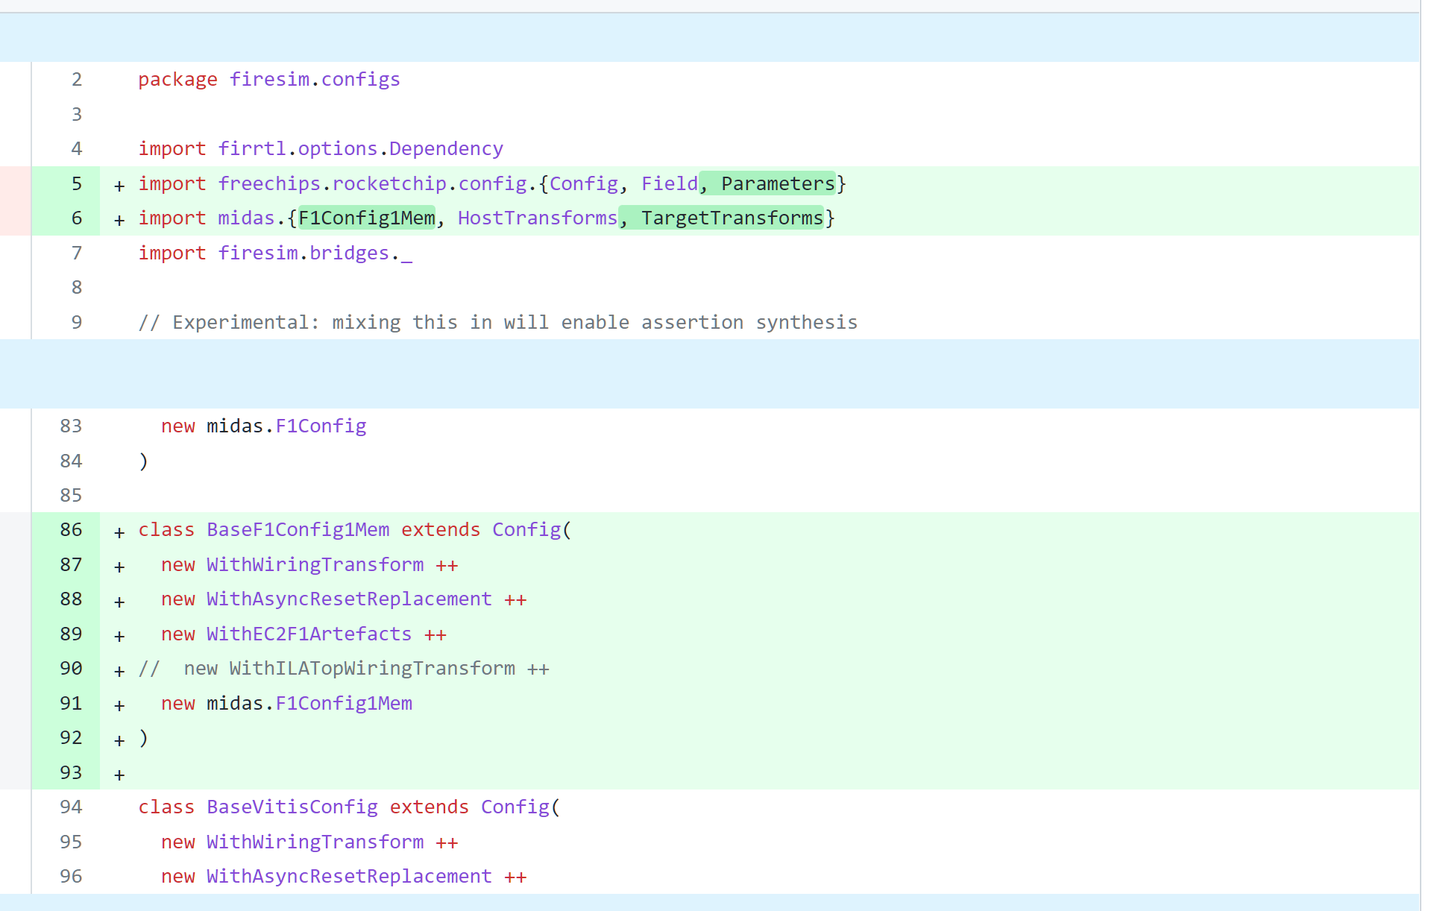
sim/firesim-lib/src/main/scala/configs/CompilerConfigs.scala Simply added a configuration with a single DDR4 mem channel
(4) Host interaction related:
- sim/midas/src/main/cc/* Basically imitating Vitis’s driver, actually just reading and writing PCIe/AXI through the standard XDMA driver.
(5) Compilation related
- sim/target-agnostic.mk Add corresponding compilation options
RUN!
After analyzing the above changes, we can:
- Create your own block design and modify the tcl script;
- Consider expanding the number of memory channels, as the above repo modification for simplicity only used one DDR4 channel. The F1 itself provides 4 DDR4 channels. At this time, you need to modify the corresponding config, and modify the wrapper and block design.
- Compile the Linux rootfs, please refer to https://github.com/firesim/FireMarshal. It actually calls buildroot and cross-compiles to the RV platform, and packages according to the RocketChip platform.
- Once everything is done, you can program the FPGA and restart the target device.
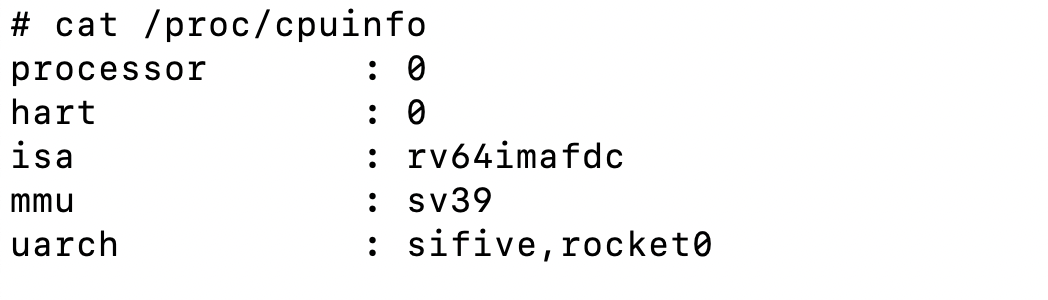
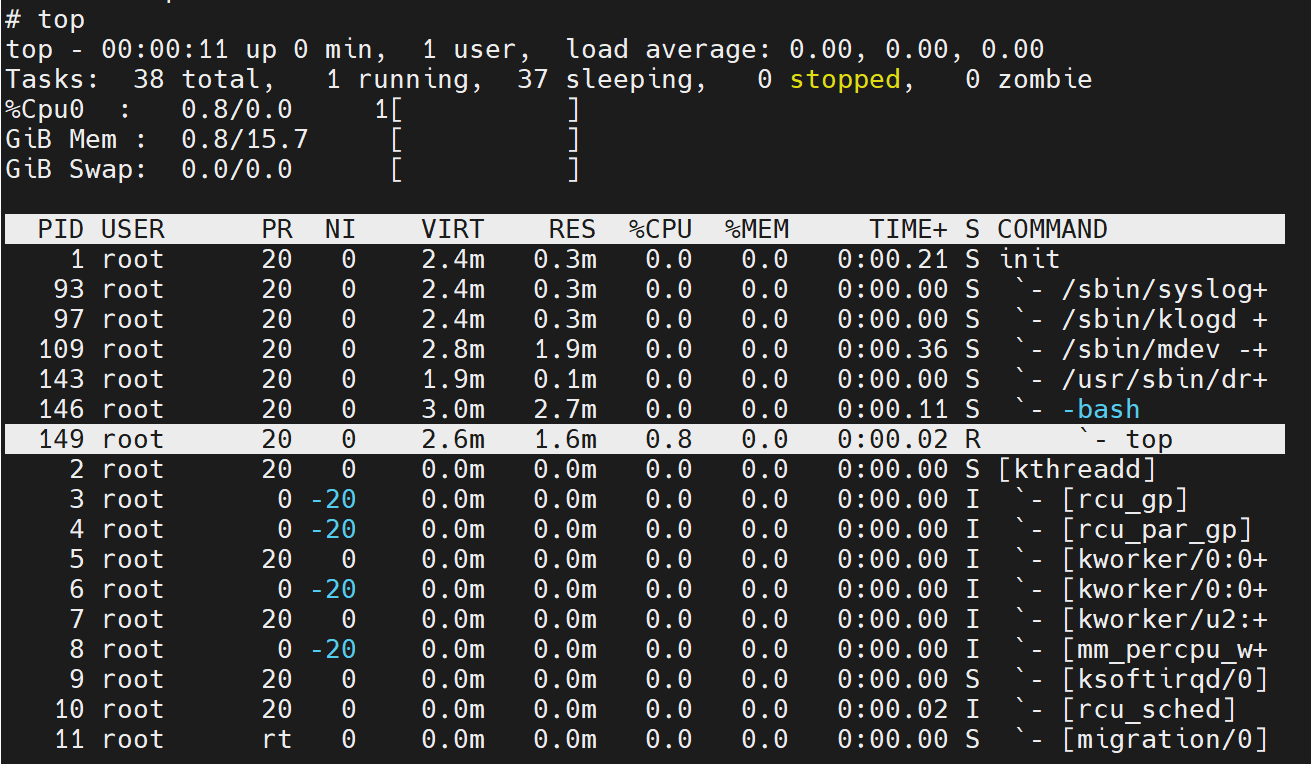
After starting FireSim, we get a satisfactory output:
Some shortcomings
As mentioned in this thread, the existing bitstream is directly written to the FPGA, so:
The PCIe device will hang after programming, and the device needs to be restarted.
A new bitstream needs to be reprogrammed for each new simulation (reason uncertain).
The thread also mentioned possible solutions: Write a new shell using the Partial Reconfiguration feature, but for now, let’s just leave it as it is, as it’s already exhausting enough to get it running.